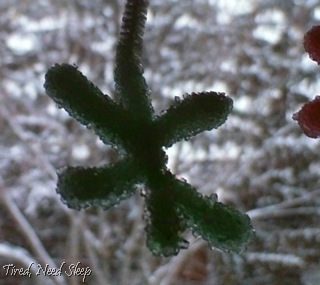
 Winter has been around for a while, and M recently decided he needed something other than leaves hanging in front of his bedroom window (maybe I was in denial about the whole winter thing?).
I’ve seen this little project everywhere, so I’m sure it is new to no one except us. I don’t know why we didn’t get around to doing it sooner.
It’s all about saturated solutions. We used the following items:
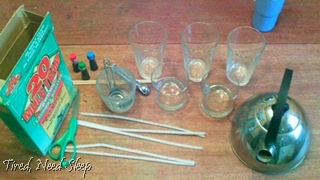 Borax, 5 pipecleaners, 2 dowels, food coloring, 5 glasses, measuring spoons, and a kettle for boiling the water.
First, boil some water. We had a full kettle and used almost all of it to make 5 snowflakes.
While your water is boiling, form the pipecleaners into snowflakes. We cut each snowflake into 3 sections, leaving one longer than the others (for hanging), and twisted them together in the middle, then pulled apart the six points of the snowflake. Twist the long end around one of the dowels, then hang in a glass. Make sure your snowflake is not touching the sides of the glass:
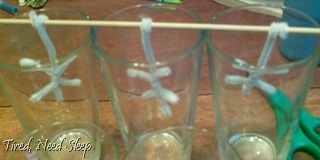
Next, I poured the boiling water into each glass, and M began measuring tablespoons of borax into them. (Note – borax can be harmful if swallowed, so make sure your child is able to do this without deciding to take a taste!). He stirred until the borax dissolved, then added more until there was a bit that wouldn’t dissolve, making a saturated solution – yay! :) I think it took about 3 tablespoons of borax for every cup or so of water. We weren’t too exact, to be honest. ;)
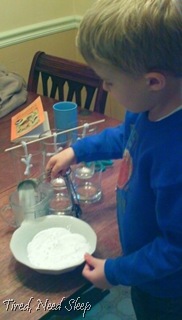
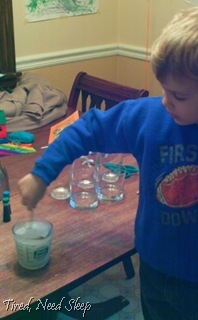
We decided a little color would be nice, so M stirred in a bit of food coloring. We added in a quick color-mixing review, and made one of them purple by using blue and red together.

Then we let all the little snowflakes hang out over night:
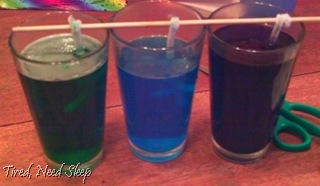
They stayed in their solution for about 18 hours total. The following day, the glasses looked like this:
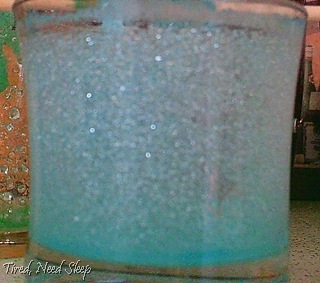 Isn’t it beautiful? I think it would be really neat to do this to a glass jar to make a pretty votive holder. I hated washing all those pretty crystals off, but decided we do need drinking glasses after all.
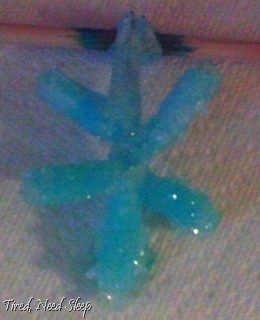
The snowflakes turned out great! Here are some of them:
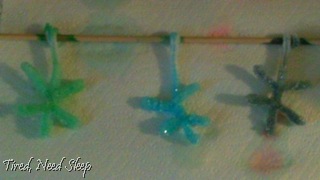
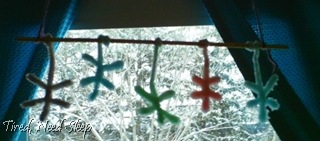
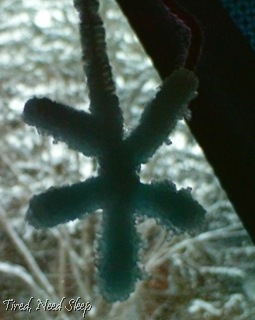
We let them dry on a paper towel, then moved them all to a clean dowel rod and hung them in front of the window:
You can also do this with sugar or salt. The main thing is making sure your water is saturated with whatever it is you are using. If you use sugar, use a string instead of a pipe cleaner, and make rock candy! (You could use a pipecleaner, but I’m thinking about the fuzz getting in my mouth – bleck!)
Have a beautiful day! :)


I've seen it before too, but never done it. I love what it did to the glass! I just might have to actually do it now- a craft for the kids AND me in one! WOOHOO!
ReplyDeleteSemalee @ Nailing Jello to a Tree
I just found your blog today, and I'm very excited to try these snowflakes! I was looking around at your blog, and you've got a ton of great ideas. I'm looking forward to trying out some new things with my daughter.
ReplyDeleteThis is so cool Nicole! What pretty things to hang in front of the window :)
ReplyDeleteIt's been on my list of things to do, but I haven't followed through.
ReplyDeleteVery cool. We must try this again, the one time we tried it we did somethng wrong and it didn't work!
ReplyDeleteLove this idea and have done it before with sugar and with salt. I never tried doing the colored kind! This sounds like a good activity to try tomorrow since we're enjoying a rare snow in mid georgia! So when they get tired of playing in the snow, we'll try making some pretty snow flakes:)
ReplyDeleteThis is one of my favorite science experiments - pretty and rather magical! I love the idea of making snowflakes at the same time! I featured your post at the Living Montessori Now Facebook page at http://www.facebook.com/LivingMontessoriNow
ReplyDeleteWe recently made a star this way for our holiday tree. The crystal star was beautiful but it did not take the color. This is a great way to learn. I want to try it again.
ReplyDeleteKathi Still trying to figure out science for my 3rd grader.
Love. Love Love this idea. There are so many directions that you can go with it and use ot for sensory bins and and nature tables too! Thanks for sharing! Kerri
ReplyDeleteThat looks like a very fun experiment!
ReplyDeleteHello!
ReplyDeleteI really love your idea and i want to try it with my preschoolers! But i don't know what is this Borax thing and where i can find it! Any help on this pls???
Thank you! :)
Τεντυ Ράξπιν - Borax is a powder laundry booster. It's usually found in the same aisle as laundry detergent. I hope that helps. You can also use regular table salt for the same result! Good luck! :)
ReplyDeleteNew to me, and pretty cool. Following you now...
ReplyDelete